I chose to purchase the fretboard already made instead of trying to make it myself. The location of the fret slots and the curve of the board face made me think I would probably not get it right. So I bought the board and I bought about 6 ft of fret wire. I cut each piece to the approximate length and tapped it into the slots with a hammer. I realized after I started that I was supposed to glue them in. But the ones I had done already were in pretty tight and I could not easily get them out so I left them. The ones below where the neck ends seemed to be the ones that required glue to keep them in place.
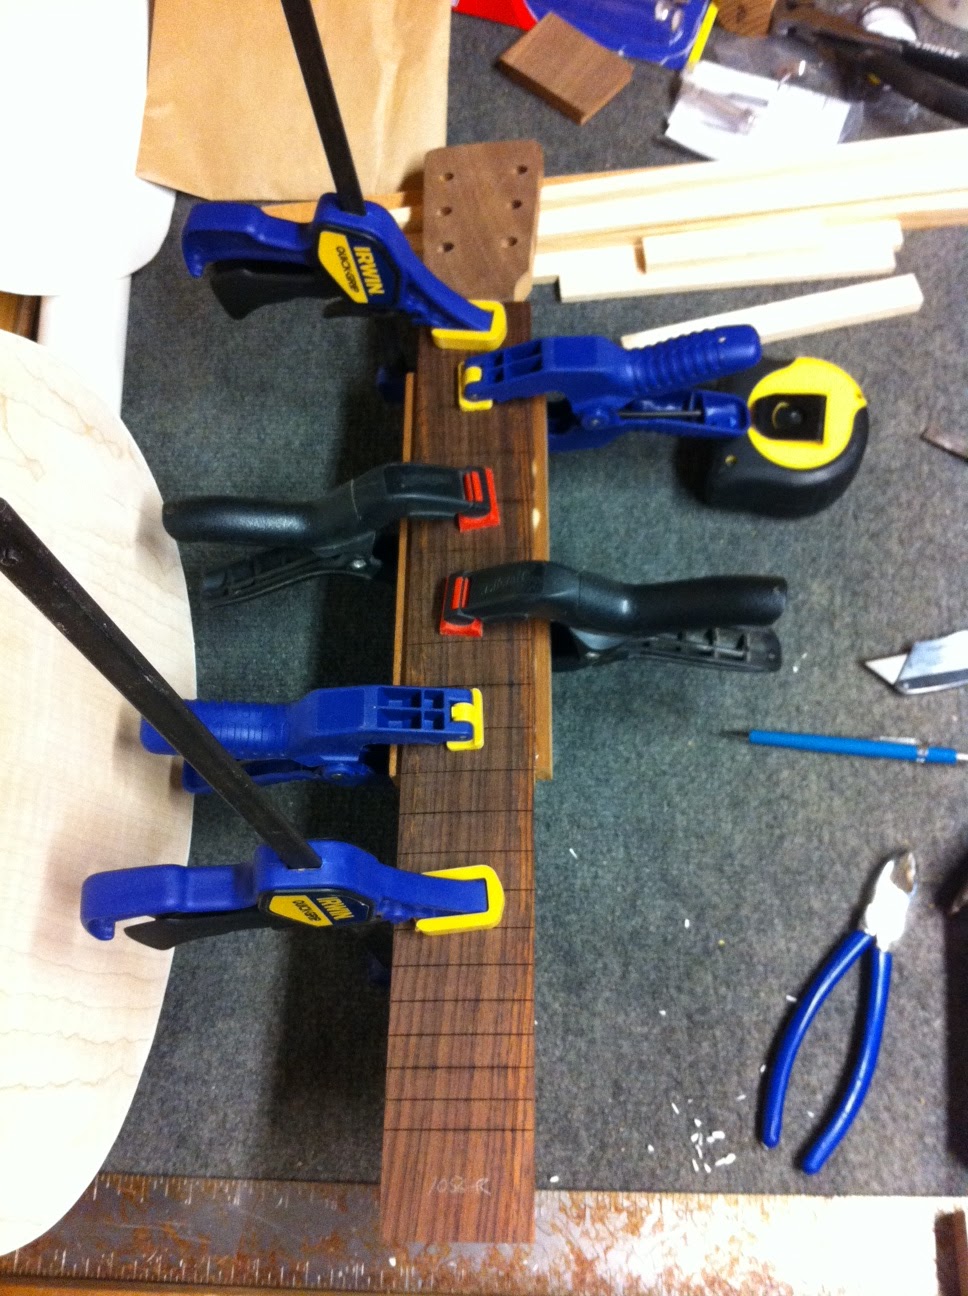
Here's the fretboard being glued to the neck.
Once the glue dried, I had to trim the combined piece to size. The top of the neck had already been trimmed to size as had the bottom. So I just had to draw a line down the back of the fretboard and trim it off. I made a sled for my table saw and clamped the neck piece to that so I could cut the angle correctly and not worry about having the piece move around making the cut not straight. Here's how it looked after trimming to size.
And here it is after starting the frets and then after putting all the frets in place.
And finally, with this much of it done, I wanted to see how it was looking as a complete guitar. So with the pieces together just enough to lean against the wall, here's an idea of how it will look in the end.